
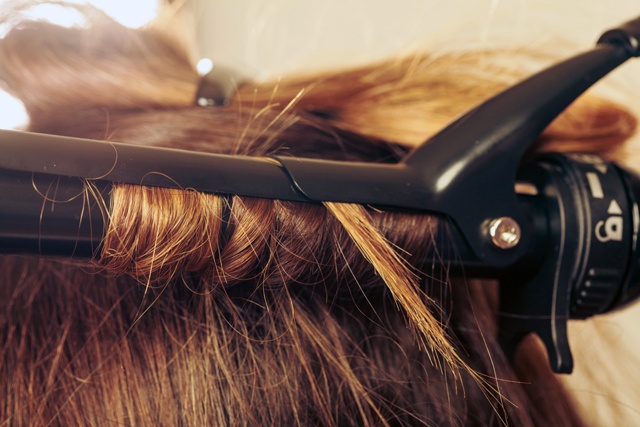
The curling iron has been around for more than 100 years, but we are still burning ourselves with it.
“Unfortunately, I burned my arm with a curling iron yesterday,” says one forum member. “Today my arm feels fine, although there is a nasty dark spot now.”
“I burned myself on my curling tong again this last week,” says blogger Zoe Foster. “I burn myself because I’m usually in a rush, and not being mindful that the tool in my hand is a scorching, skin-sizzling 220 degrees, and am doing odd angles with my arms and hair….”
I think this is really why most of us get burned-we use the curling iron so often that we become careless with it. Regardless of why we get burned, the important thing is to treat that burn right away. Like any skin wound, it can leave a scar, which is definitely something we don’t want!
1: Cool It Down
Healing a burn from a curling iron is similar to healing any burn-your first step should be to cool it down. Apply cold water immediately! The faster you can cool the burn the more you’ll be able to prevent damage to the skin, which reduces the risk of scarring.
After the initial cooling, if you can, continue to cool the burn for about 20 minutes by applying cold water or cold compresses. Don’t use ice, however, as that can further damage the skin.
Once you’ve tamed the initial burn, try my Rescue + Relief Spray (store in the refrigerator) for cooling, healing relief.
2: Protect the Area
The second thing you need to do is protect the burned skin. You can apply an antibacterial ointment to keep the wound moist and sterile. Some people like to use natural protective salves like tea tree oil and yogurt. These may help, but they can also cause irritation, depending on how bad your burn is. We like our CV Skinlabs healing balm that is choc full of healing properties. You can also try our other products that include Aloe which been shown in studies to help burns heal, and it’s also a natural antibacterial, so this one is usually a safe bet-just make sure it’s pure aloe, not a 10% solution.
Next, cover the area with a band-aid or sterile gauze to protect it as you go about your day. Avoid applying makeup to the area so that it can heal without risk of infection. Continue to protect the area until the skin has closed and the scab is gone. No matter what, don’t pick or scratch at the wound, as that only increases scarring.
3. Start to Moisturize
Once the wound has healed over and is no longer open or oozing, it’s important to start moisturizing. This will help keep the skin supple to avoid scarring. Try my Body Repair Lotion for burns on the body-it contains calming aloe and calendula. Use my Calming Moisture for burns on the face. It also has aloe as well as oat extract, which helps reduce post-healing itching and redness.
4. Treat the Scar
Once the wound has healed, it typically leaves behind a dark-colored scar. When your skin reaches this stage, you can treat it like you would any scar. First step-exfoliation. Try gentle acids like malic, lactic, and salicylic to break up the scarred tissue, but avoid rough scrubs that may further damage skin. You can use the same products you would use on your face on the scarred area, even if it appears on your arm or your neck.
Next, continue moisturizing with a healing balm. Try CV Skinlabs Restorative Skin Balm overnight, as it is made for reducing the appearance of scars, and will help protect the skin as it continues to heal.
You may also want to try a lightening product-look for those that include vitamin C, licorice root extract, uva ursi extract, and white tea extract. These are all natural ingredients that encourage skin lightening and brightening and will help fade the scar over time. While you’re treating the skin with both exfoliation and lightening, don’t forget to protect the area from the sun. Even five minutes of UV-exposure can erase all your progress, so cover the scar with clothes or use zinc oxide sunscreen.
Prevent the Burn!
It may take time, but your curling iron burn will most likely eventually fade. Best bet-don’t get the burn in the first place! Try these tips for preventing curling iron burns:
- Invest in a curling iron with a plastic tip to protect your fingers.
- Set the heating level as low as possible for the results you want-this is not only good for your skin, but for your hair as well!
- Go slow-if you’re in a hurry, pick a hairstyle that doesn’t require curling.
- Use a comb between the curling iron and your scalp.
- Be conscious of your forehead and neck when you curl-most burns occur when doing bangs or the short hairs at the back of the neck, so use extra caution when curling these areas.
- Look for a curling iron with a heat resistant, comfortable handle that makes it easy to keep your grip while styling.
- Consider using hot rollers instead-they create softer, more natural looking curls, and cause less damage to the hair and skin than curling irons do.
Have you suffered from a curling iron burn? Please share your tips on treatment or prevention.
